...
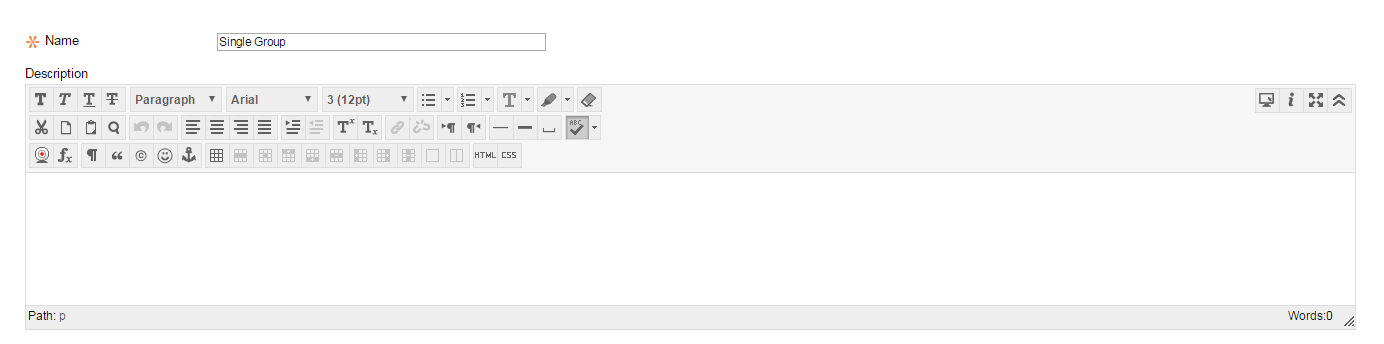
You’ll be prompted for a name.
You’ll also need to choose whether or not to make the groups visible to students. Yes means a link to the group area and tools will be provided to the students. This link appears just below their main course menu. If you are only using this function to sort your sections opt for No.

Further down page you can select which tools you want available to the group to use. If you are doing this purely to keep track of merged sections you might not provide any of these tools. However, if you decide, you can give the students shared Blogs, Discussion Boards, or Journals, a place to share files, or the ability to e-mail their group members.

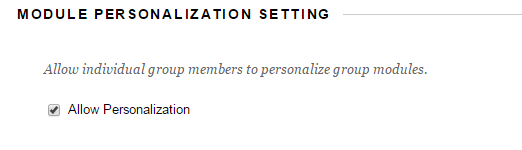
In the following section you can opt to let the group have control over how their group page will look by allowing personalization.
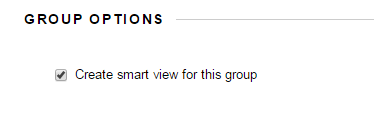
You can also distinguish the members of this group in the Grade Center by checking the box next to “Create smart view for this group”.
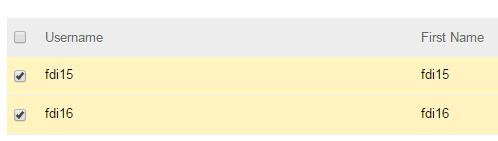
Finally, you need to add users to the group. Click Add Users.

Check the boxes next to the students that you’d like to add to the group, and click Submit.
Once you’ve done so, click Submit on the main Create Group page and your group will be created.