...
| Page Properties | ||||||
|---|---|---|---|---|---|---|
| ||||||
|
The group function in Blackboard offers a variety of options typically associated with organizing and managing group assignments. You can also use this feature to create views of just certain students in the Grade Center. One use of this would be to have an easy way to separate your sections’ students in a merged course.
To create your groups select Groups under ‘Users and Groups’ on the control panel.

This takes you to the ‘Groups’ page. In a new course there will not be any groups listed here.

What you do next depends on the goals for creating groups. If you want to divide your entire student roster into two or more groups, follow the instructions for “Creating a Group Set”. If you want to put a subset of your course into a group (perhaps a group of students working on a special project), follow the instructions for “Creating a Stand-Alone Group”.
Creating a Group Set
Group sets allow you to divide your course into two or more groups. To create one, choose either “Random Enroll” or “Manual Enroll” from the Group Set section of the Create menu.

This will open the ‘create group set page’.
You’ll be prompted for a name. The name will become the default group name, with numbers afterwards to distinguish each group, so you’ll want to make it singular (not plural).

You’ll also need to choose whether or not to make the groups visible to students. Yes means a link to the group area and tools will be provided to the students. This link appears just below their main course menu. If you are only using this function to sort your sections opt for No.

Further down page you can select which tools you want available to the group to use. If you are doing this purely to keep track of merged sections you might not provide any of these tools. However, if you decide, you can give the students shared Blogs, Discussion Boards, or Journals, a place to share files, or the ability to e-mail their group members.

In the following section you can opt to let the group have control over how their group page will look by allowing personalization.

If you’d like to have a separate section in the Grade Center for each group in the set, check the box marked “Create smart view for each group in set”

What you do next depends on whether you want to select the groups manually or randomly
Random Enrollment
If you’ve selected to have Blackboard set up your groups randomly, you’ll see a couple of options that allow you to set up the random groups.
First choose either the number of students per group, or the number of groups.

The system will create equally-sized groups. If your class does not divide equally into the groups, you can then choose how Scholar deals with the leftover students.

Click Submit and your groups will be created.
Manual Enrollment
If you’re manually enrolling students in the groups, you’ll have to choose the number of groups in the set.
Click Submit, and you’ll be taken to the ‘Edit Group Sets’ page. Leave the “Hide members already in another group in this set”’ option checked, so your sorting will become easier as you work down the page.

The rest of this page contains separate selection windows for each group that you are manually creating. You should adjust the name to match your needs.

To add users to the group, click Add Users.

You can then check the boxes next to the users you’d like in the group. When you’re done, click Submit.
After you have named and populated each group. Click submit. Now your groups page will list each group.
Editing Group Sets
To edit a Group Set, click on Groups under Users and Groups.

You’ll see a list of groups. To view group sets, click on Group Sets at the top right.

You can then see a list of group sets to edit.
Creating a Stand-alone Group
If you instead want to only select certain students to go into a group, you’ll choose Manual Enroll from the Single Group section of the Create menu.

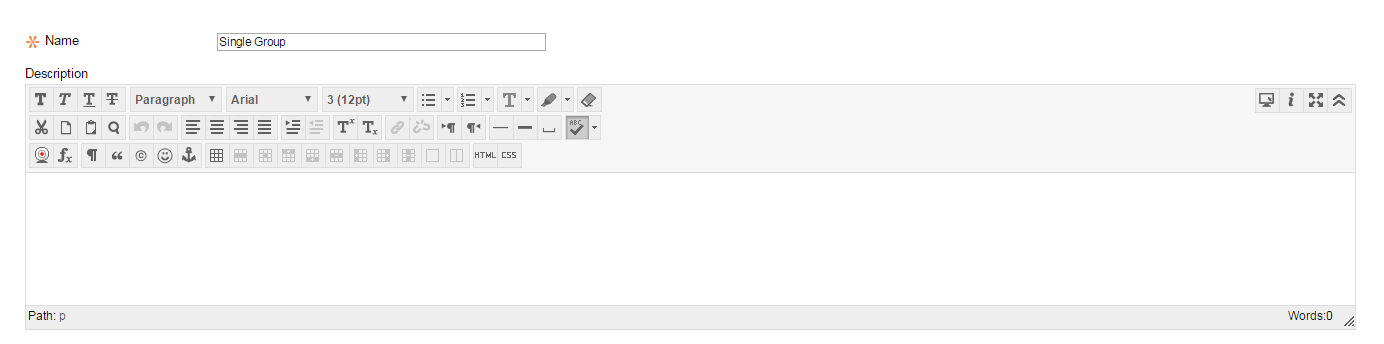
You’ll be prompted for a name.
You’ll also need to choose whether or not to make the groups visible to students. Yes means a link to the group area and tools will be provided to the students. This link appears just below their main course menu. If you are only using this function to sort your sections opt for No.
Further down page you can select which tools you want available to the group to use. If you are doing this purely to keep track of merged sections you might not provide any of these tools. However, if you decide, you can give the students shared Blogs, Discussion Boards, or Journals, a place to share files, or the ability to e-mail their group members.

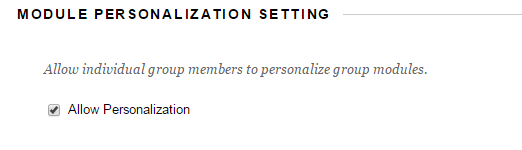
In the following section you can opt to let the group have control over how their group page will look by allowing personalization.
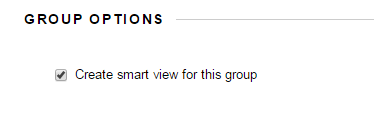
You can also distinguish the members of this group in the Grade Center by checking the box next to “Create smart view for this group”.
Finally, you need to add users to the group. Click Add Users.

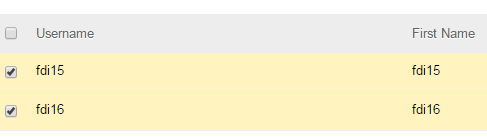
Check the boxes next to the students that you’d like to add to the group, and click Submit.
Once you’ve done so, click Submit on the main Create Group page and your group will be created.