GPVPN Portal
The portal necessary to connect to our VPN is the following: 'gpvpn.cnu.edu'
Requesting VPN Access
Please Click Here for VPN Access Instructions.
Installing GlobalProtect
Christopher Newport University-Owned Computers
If Christopher Newport University owns your computer, you can install everything you need through the Self-Service portal. Click on the Christopher Newport University Self-Service Portal in your Applications menu or Launchpad.
- Find the entries in Self-Service for GlobalProtect VPN and click Install.

Personal Computer Installation
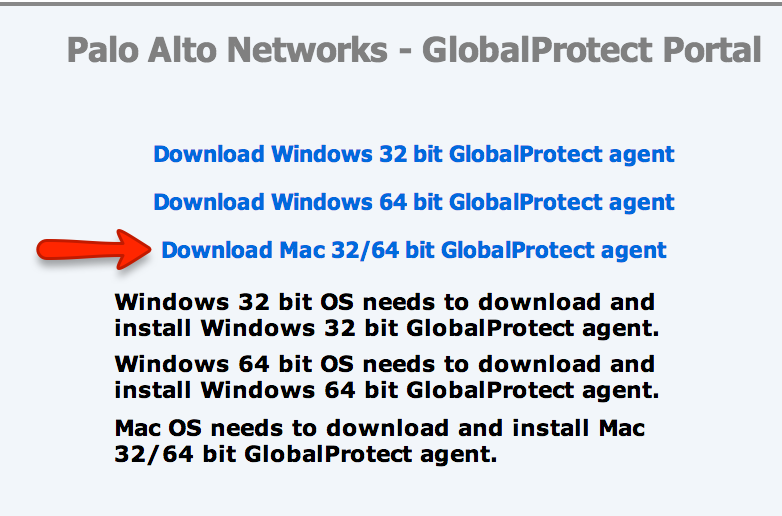
- Launch your web browser and type https://gpvpn.cnu.edu into the address bar. Regardless of which browser you use, you will see the following screen. Enter your CNU Email and password accordingly..
- You’ll then be asked to download the version of Global Protect that matches your system. Download the Mac GlobalProtect agent.
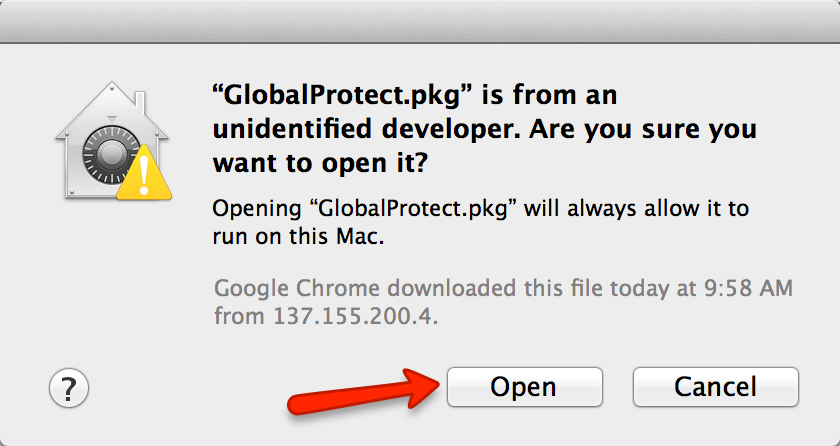
- Navigate to your downloads folder and click on the GlobalProtect.pkg file.
- A warning may appear that the file is from an unknown developer. Click “Open” to install it.
- The installer will then pop up. Click “Continue” three times.
- On the next screen, click “Install”


GlobalProtect will be installed on your computer. Close this window to move on.
Setting Up GlobalProtect
- If GlobalProtect doesn't launch automatically when it's done installing, launch Global Protect from Launchpad.
- A Connect button should come up. If it doesn't, click the globe icon in your notifications area.
- Then click Connect.
- Enter the portal of 'gpvpn.cnu.edu' into the portal field, then proceed with hitting 'Connect.'
- You will be redirected to a window that confirms your account via Single Sign-on Services, which will look like the following:
- Type in your CNU Email address and password, confirm your Multifactor Authentication method and click sign in.
- After a successful sign in, you will be connected.


