Understand Google Forms basics
- Jered Benoit
- Janna Dougherty
Google Drive allows you to create forms to collect data. This can be useful for surveys or registration forms.
Creating a Google Form
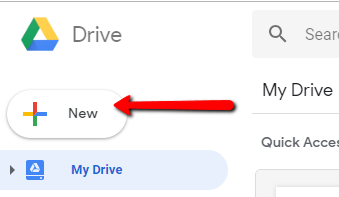
To create a Google Form, log into your Google Drive, and click the New button.
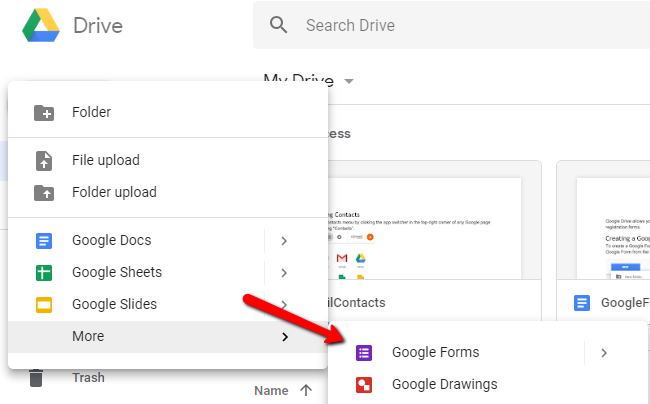
Then choose Google Form from the More menu.
You will then be taken to the form editing page. An initial question will be created for you.

Type the question in the appropriate box. Google Forms will use what you type to attempt to choose a relevant question type for you. If it chooses a type that’s not what you want, select the desired type from the dropdown menu.

If the question type that you choose has options, you will be able to type them directly below the question. If you want to require users to provide an answer to the question, click the Required switch.

To edit the question, simply click it and the editing tools will pop up.
Delete the question by clicking the question and clicking .
To add a new question, click the plus sign on the bar at the far right.

An editable question will appear below the current questions.
Form Settings
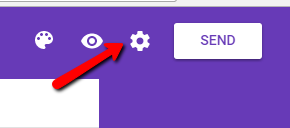
To edit the settings for the form, click on the gear at the top of the form.
The General settings page comes up.

On this page, you can choose whether to collect recipients’ CNU e-mail address automatically, require sign-in to CNU Connect for those who answer your form or prevent people from submitting multiple responses. You can also give responders the ability to edit their responses or see a summary of the data you’ve collected after submitting the form.
The Presentation tab has a number of other options.

On this tab, you can control whether forms with multiple sections show a progress bar. You can also randomize the order of the questions. The final two options control what happens once a user submits the response. You have the option to customize the message that users receive, as well whether they see a link to fill out your form again.
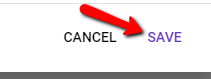
When you’re satisfied with your settings, click Save.
Publishing your Form
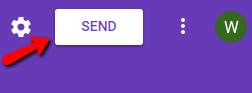
To allow people to fill out your form, click on the “Send” button.
A popup window will come up giving you the opportunity to send your form a number of ways. The default is by e-mail. Customize your e-mail, enter recipients, and click send.

If you want to send a link to the form through another method, you can get it by clicking on the link icon.

You can then highlight the link and click Copy or press CTRL+C (Command+C on the mac). If you want a short URL, click the Shorten URL checkbox.

These are the main ways to share your form. There are several others, so contact Academic Technologies for advice if these don’t meet your needs.
Viewing Responses
To view the responses, click the Responses tab at the top of the form.

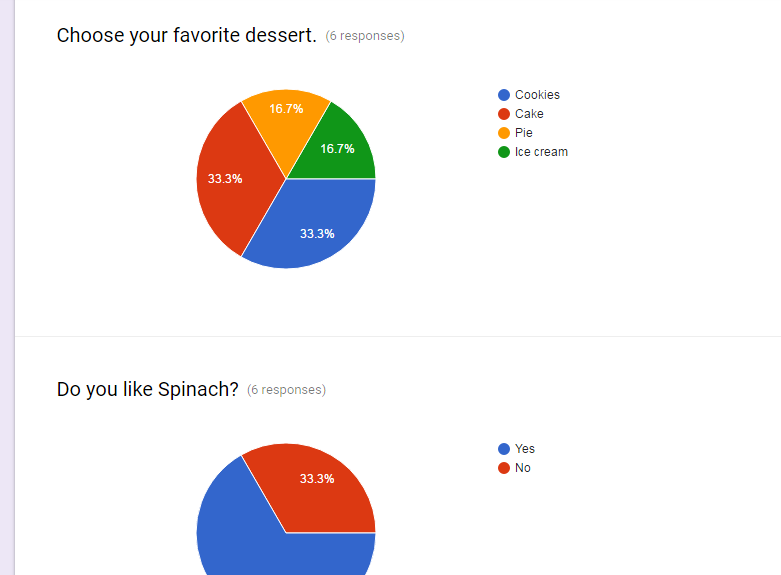
On this tab, you can view a summary of all of the responses to your form.
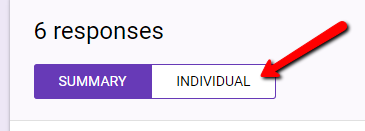
You can also click on Individual at the top to view each individual response to the form.
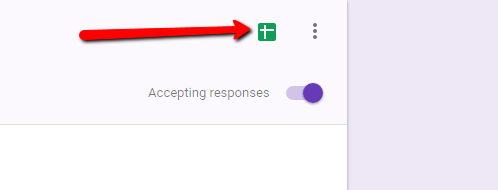
To view the form as a spreadsheet (like you would in the old Forms), click on the Google Sheet icon at the top.
Advanced Google Forms Topics
This tutorial only covers the simplest use of Google Forms. For more information, see Google’s help documentation at https://support.google.com/docs/topic/9055404?hl=en&ref_topic=1382883