Understand Google Contacts basics
- Jered Benoit
- Janna Dougherty
Accessing Contacts
Go to the contacts menu by clicking the app switcher in the top-right corner of any Google page and choosing “Contacts”.

Creating New Contacts
To create a new contact, go to the contacts screen and click “Create contact.”

A popup window will come up allowing you to enter the contact’s information.

Add a name, and enter e-mails and phone numbers in the provided boxes. You can specify the type of e-mail address or phone number from the “Label” dropdown next to the box.

To add an additional e-mail or phone number, click the "Add Email" or "Add Phone" sign next to the e-mail or phone number.

If you have additional information that’s not available on the initial popup, click “Show More” on the bottom.

Note: By default, anyone that you e-mail is automatically added to your contacts list under “Other Contacts”.
Creating a Contact Group
To create a contact group (to use for a distribution list), select the contacts that you’d like to use from the list and choose the groups icon. Then click “Create new”.
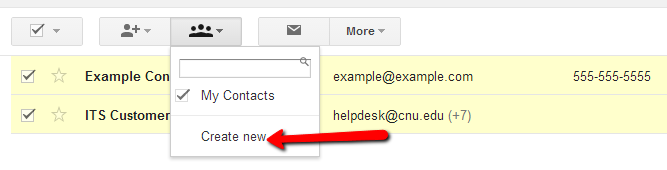
Enter the name for the group into the box that pops up and click “OK”.
Adding/Removing Contacts to/from a Label (Group)
Contact groups are now called labels. To create a label, click Create label on the left.
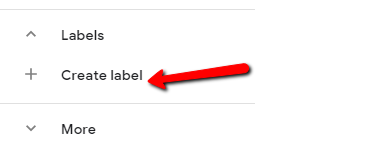
Enter the label name and click Save.

To add contacts to the label, check the box next to them (if no checkbox is visible, click the colored letter or picture next to the name).

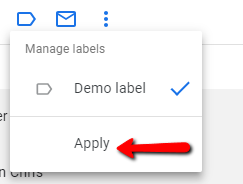
Then, click the Manage Labels icon at the top.
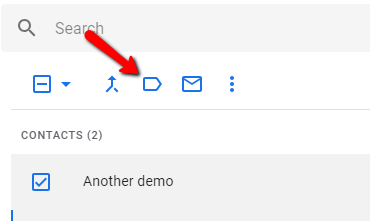
From that menu, check the label(s) you’d like to add the contacts to and click Apply.
To remove the contacts, follow the same procedure, but uncheck the label.
E-mailing Contacts or Groups
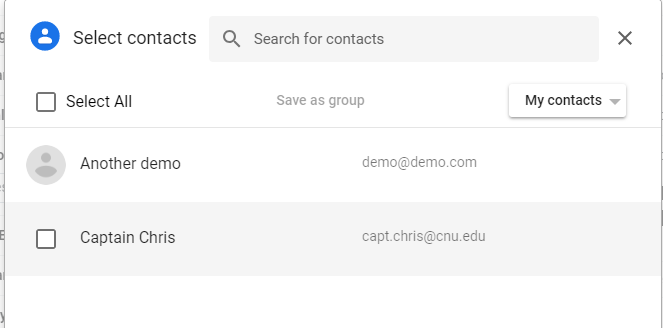
To e-mail a contact or group, simply begin typing its name in the “To” field of an e-mail. If you want to search your contacts, click on the word “to” in the compose menu.

You can then search your contacts.