Record a Blackboard Collaborate session
- Jered Benoit
- Janna Dougherty
Blackboard Collaborate allows you to record sessions for later use. These recordings are stored on Blackboard’s servers, and do not count against our Scholar quota, so feel free to record your sessions as needed.
Setting up Recordings
Before you start a session that you’d like to record, you may want to look at two settings within the session settings.
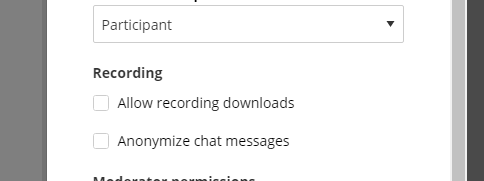
“Allow recording downloads” controls whether people viewing the recording can download a copy. If you don’t select this before recording, viewers will be able to access the recordings from the player within Collaborate, but will not be able to download the resulting video. If you allow downloads, you and others will be able to download the session video, although it won’t include chat information.
“Anonymize chat messages” removes the names from the chat recording. If you plan on sharing this recording with others, and are meeting with students, this may be a good idea.
Recording a Session
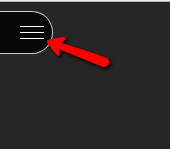
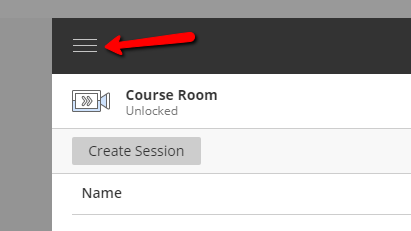
Recording a session is easy. When you’re in the session, click on the menu at the top left of your screen.
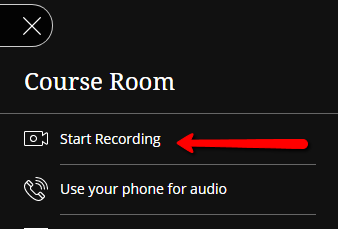
Then, click Start Recording.
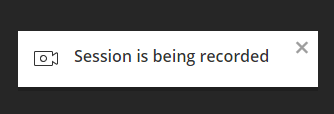
All participants will be notified that the session is being recorded.
When you’re done, return to that menu and choose Stop Recording.
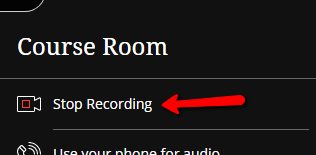
The recording will automatically be saved in the Scholar course shell in which the session was created.
Viewing Recordings
To view recordings, access the Collaborate tool and click the menu button at the top left.
Choose Recordings.
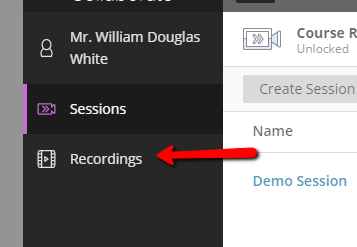
You’ll see a list of recordings. To view a recording, click on the name.

The player will launch. If this is the first time anyone’s viewed the recording, it may take a few minutes to start.
You’ll then be brought to the player.
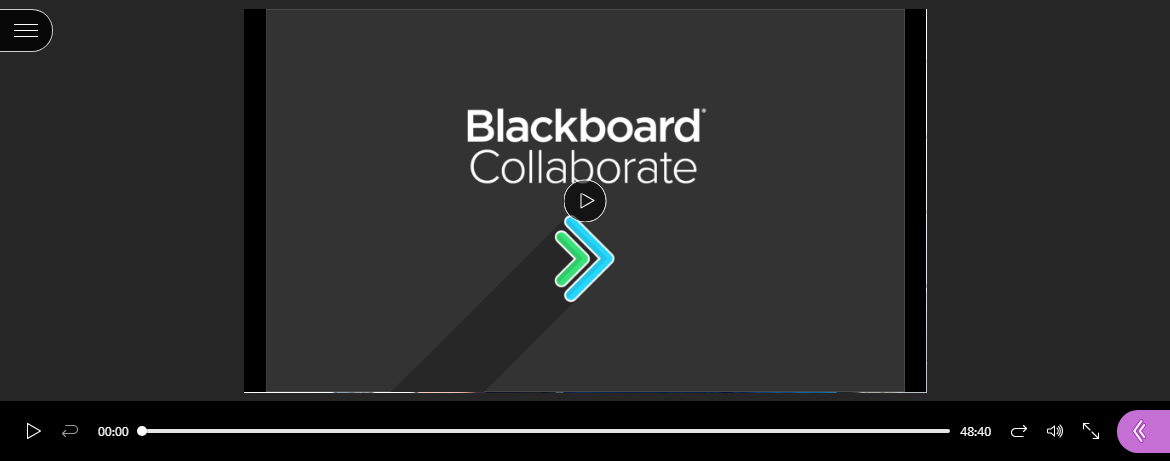
Clicking the purple arrow at the bottom right opens the chat window.

Clicking a chat message advances the playback to the point at which the chat message was added.
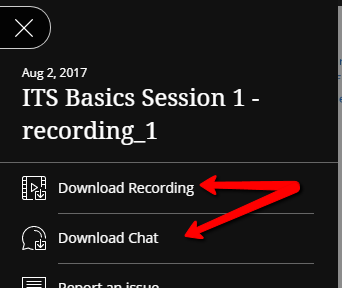
You can download the recording or the chat log by clicking on the menu at the top left and choosing the appropriate link.
Managing Recordings
There are a few more things you can do on the recordings page. To get the additional options, click on the circle with three dots next to the recording.
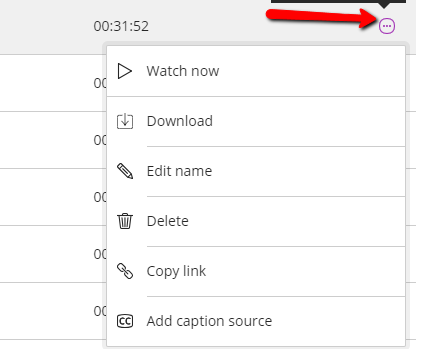
The following options appear:
Watch now: opens the player.
Download: downloads a copy of the recording in MP4 format.
Edit Name: allows you to change the name of a session to something more descriptive
Delete: deletes the recording permanently. There is no undo
Copy link: allows you to get a link to the recording. This link is accessible to anyone with the link; they don’t need to sign in to Scholar.